
As you can read in my last post about the benefits of earthing I have recently found that earthing (or grounding) myself has really helped with my back pain and stress.
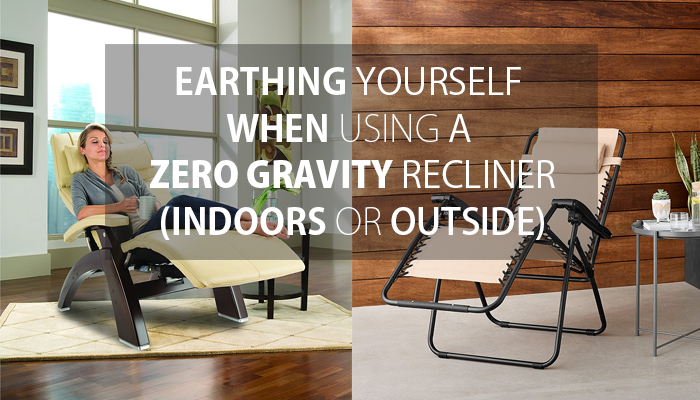
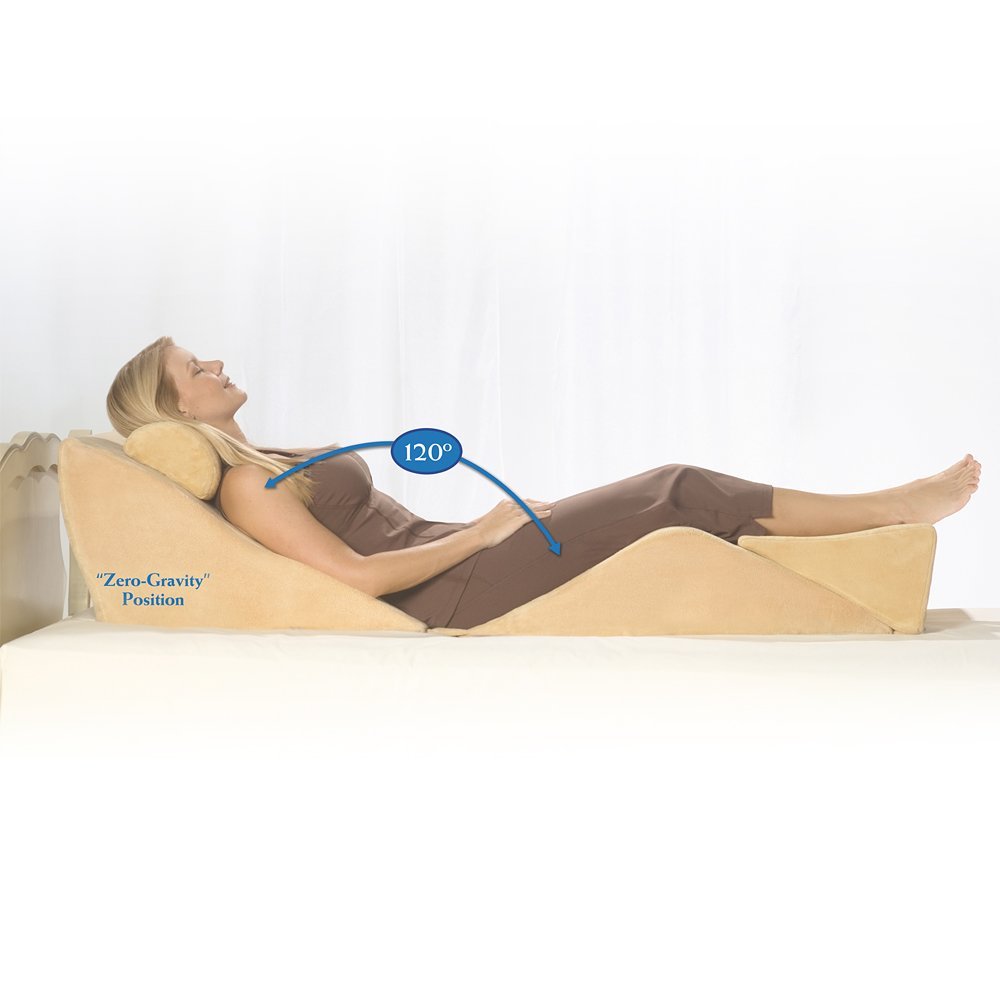
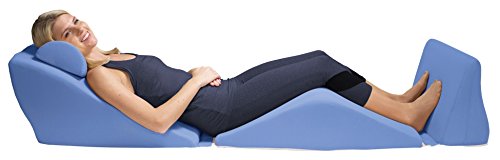
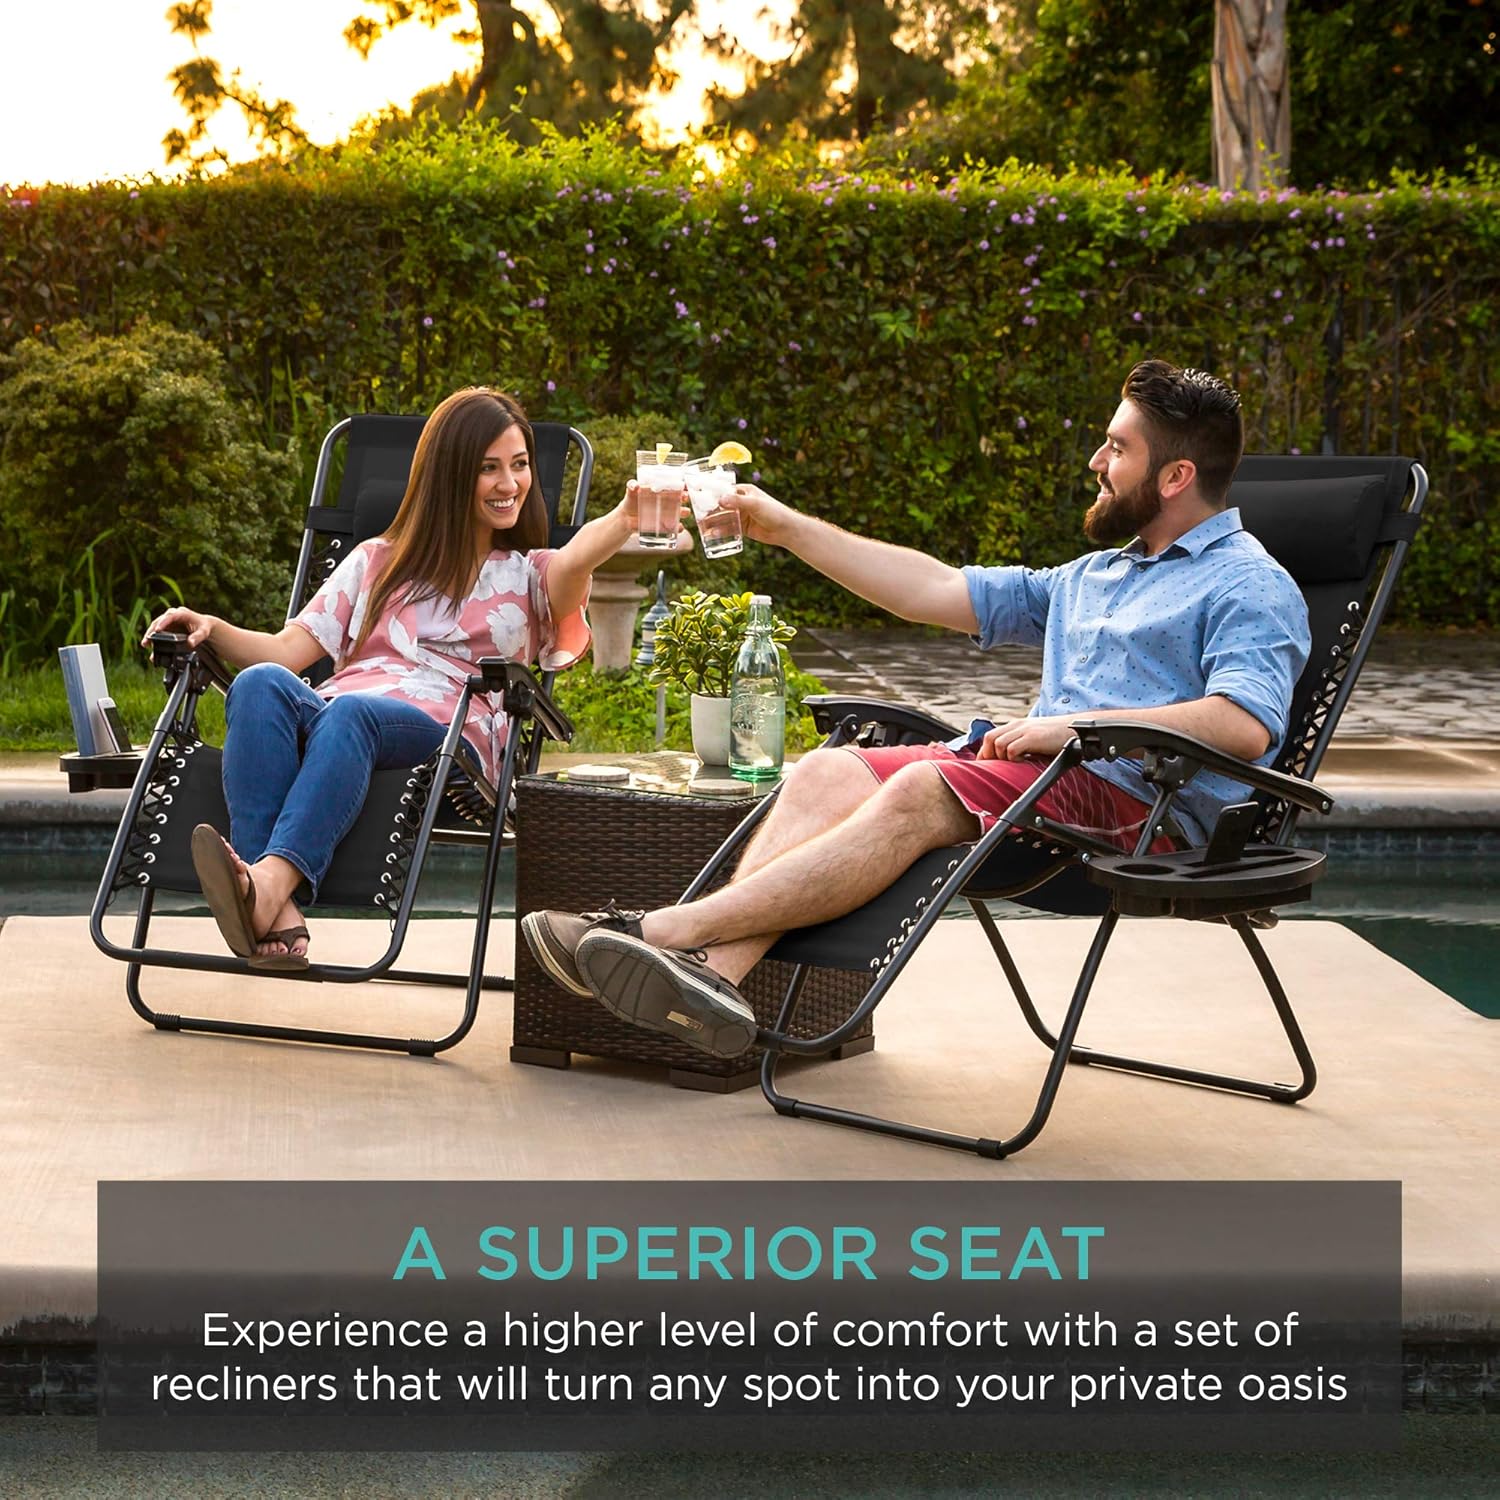
However one thing that doesn’t really go hand in hand with grounding is the zero gravity position.
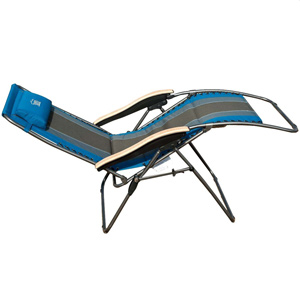
If you are outdoors sitting on your zero gravity recliner, the chances are you have your feet elevated.
After all why use a zero gravity chair if you are simply going to use it in the upright position? You may as well use a regular garden chair.
Since your feet are raised you are obviously not in direct contact with the earth, however with the use of grounding or earthing apparatus you can get the best of both worlds.
Whether you use an outdoor zero gravity chair in the garden or an indoor zero gravity chair or massage chair in your home, you can still receive the great benefits that grounding oneself can bring.
Using a grounding product outdoors
If you are fairly active throughout the days spent relaxing outdoors, using a grounding product may not be necessary.
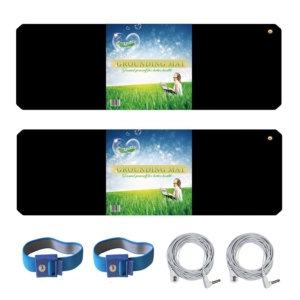
Landkissing grounding mat and wrist band set
Taking regular breaks from your zero gravity chair to walk around barefoot on the ground will provide ample opportunity to earth yourself effectively.
However, if you prefer to just sit back in your zero gravity recliner and relax in the sun, there are some excellent products that allow you to ground yourself while doing so.
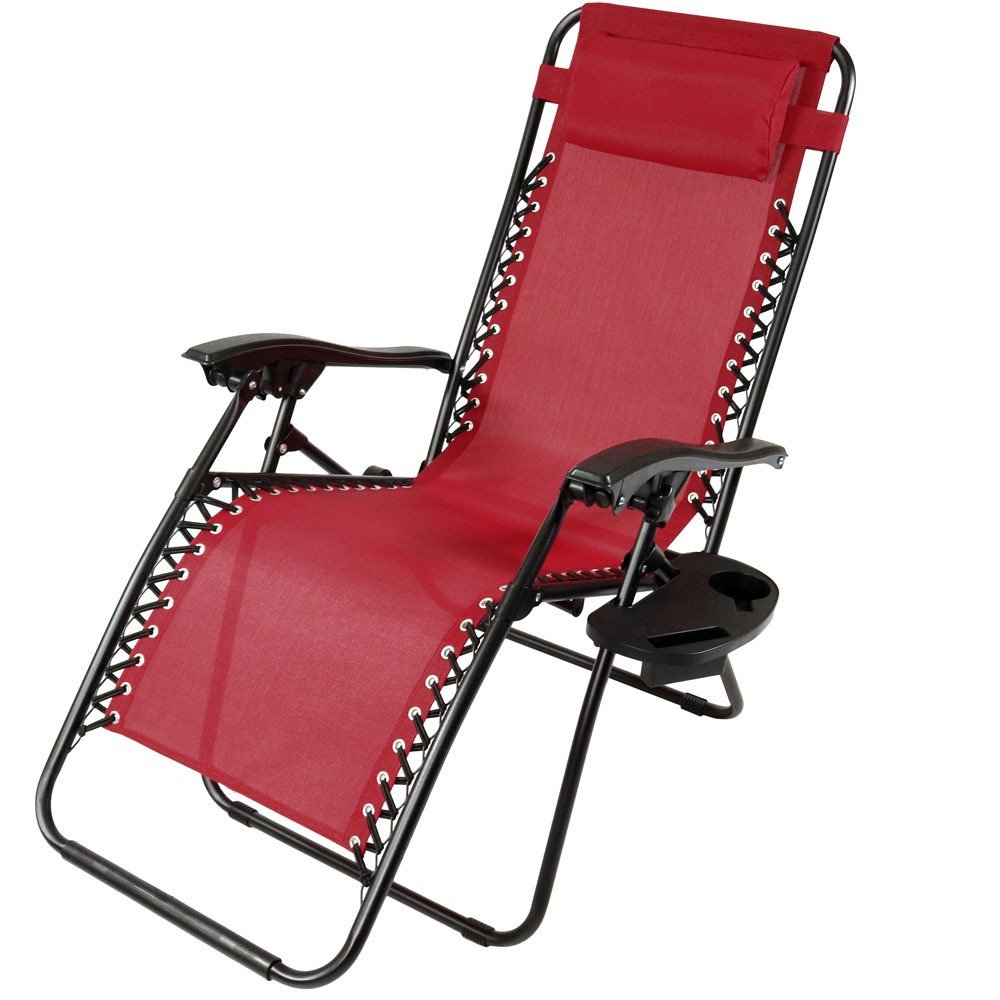
This grounding kit from the brand Landkissing is a great package in my opinion. As you can see in the image to the right it comes with a pair of grounding wristbands which are ideal for grounding oneself when in a zero gravity chair.
Grounding products come complete with a cord that plugs in to the lower (earth) socket on an wall plug socket.
Generally these included cords are around 5 meters / 16 feet in length, therefore use of an extension cable may be necessary.

Tylson outdoor grounding rod
Another option however, would be using a grounding product with a grounding rod that plugs directly into the earth like this one from Tylson.
This ground rod is also able to provide an additional 45′ extension onto your earthing products cord.
Some buyers have even stated that plugging in their earthing product into the earth as oppose to a plug socket has provided them with far more noticeable health benefits and an even better nights sleep.
Due to the long extension cable that is included with the copper rod, you can also use it when earthing in your home as it can easily be set up running through a slightly opened window.
One thing to note is that the rod should be placed in moist ground for a more effective connection.
Using grounding products on an indoor zero gravity chair
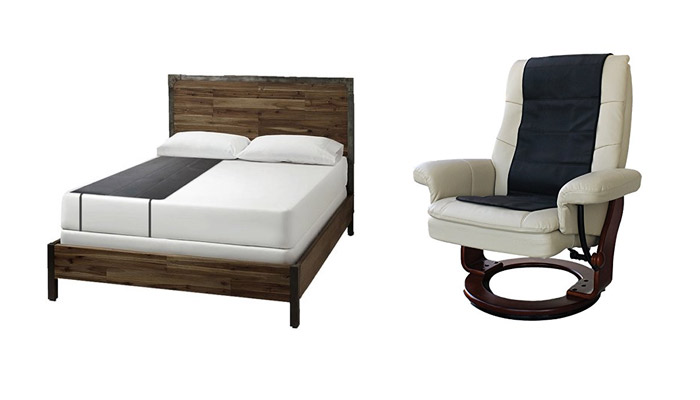
Grounding yourself on a zero gravity chair indoors, on a bed or even a zero gravity bed wedge system, is generally quite straightforward.
It may however be a slightly more costly depending on what option you choose.
The first option is the most cost effective. It is once again the Landkissing grounding set that has already been mentioned above.
The Landkissing grounding set is great for indoor and outdoor use and is very versatile.

The wrist bands however are very suitable for use with an indoor zero gravity chair.
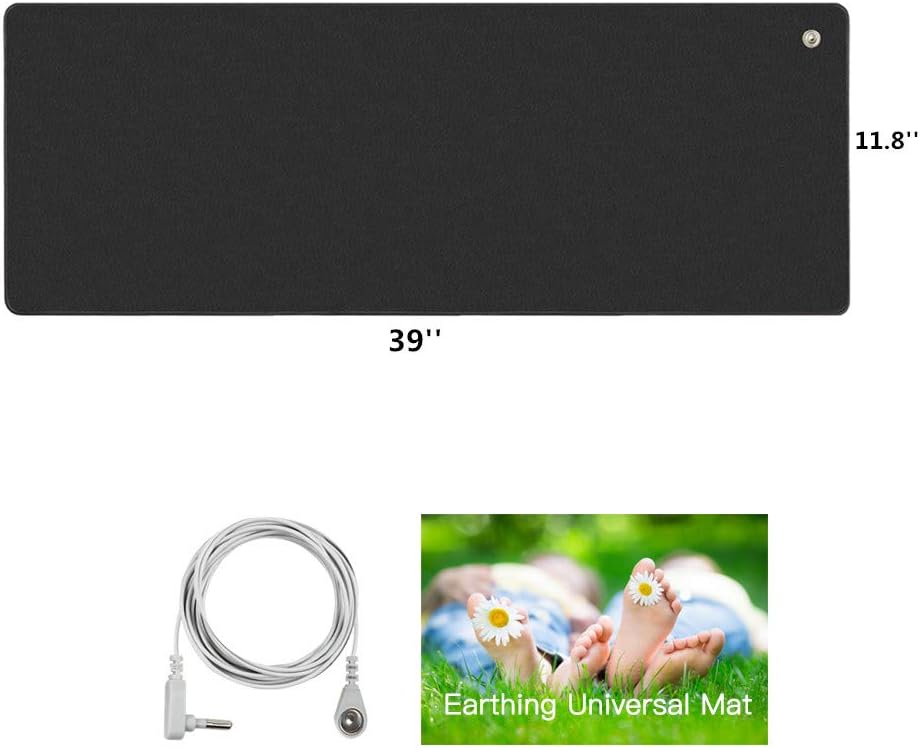
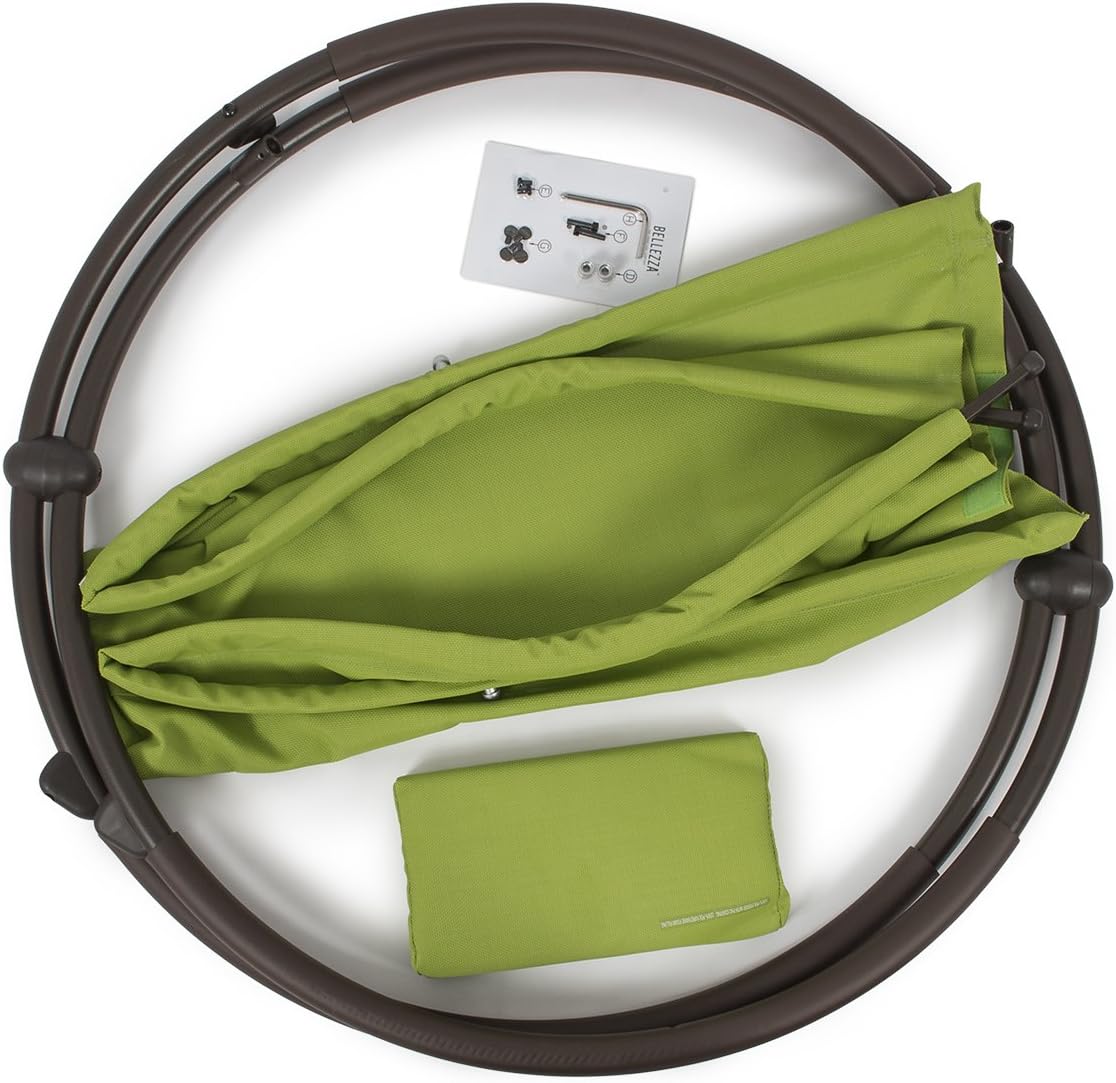
If you are looking for an even more effortless solution, you may prefer a durable grounding mat especially for use on a chair.
As you can see in the picture to the right using a grounding mat of this size on an indoor zero gravity chair is ideal.
All you need to do is simply drape the mat over your gravity recliner and plug it into the earth outlet in a power socket. Then sit back and relax.
You can view the chair earthing mat in further detail here at Amazon. You can also view a earthing mat designed for a bed from the same manufacturer.
Find out more about earthing
If you would like to find out more about earthing (grounding) yourself, you may wish to take a look at some of my other blog posts where I have written about it.
The first post, details my initial experience and introduction to earthing, it also shows how skeptical I was at first.
The second post highlights many of the health benefits that can be gained from earthing on a regular basis. It also takes a look at how effective I have found regular earthing to be in combating my back pain issues and stress.
I would also recommend having a look on YouTube for some excellent documentaries about earthing. This short clip is a great place to get started, especially if you are a little skeptical as I once was.
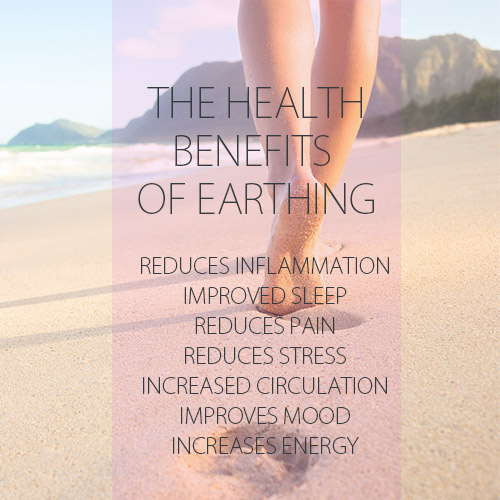 Having found such a positive health boost from using my earthing mat on a more regular basis, I chose to research some of the benefits in more detail.
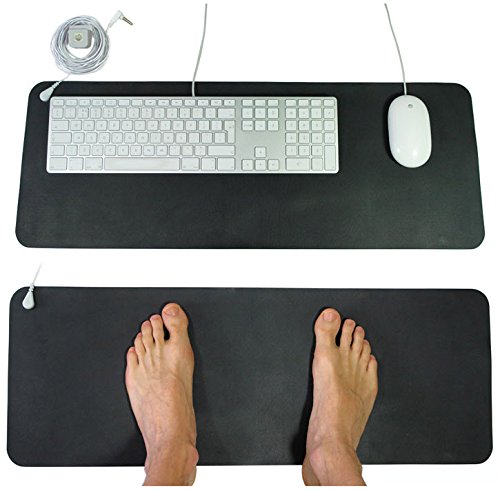


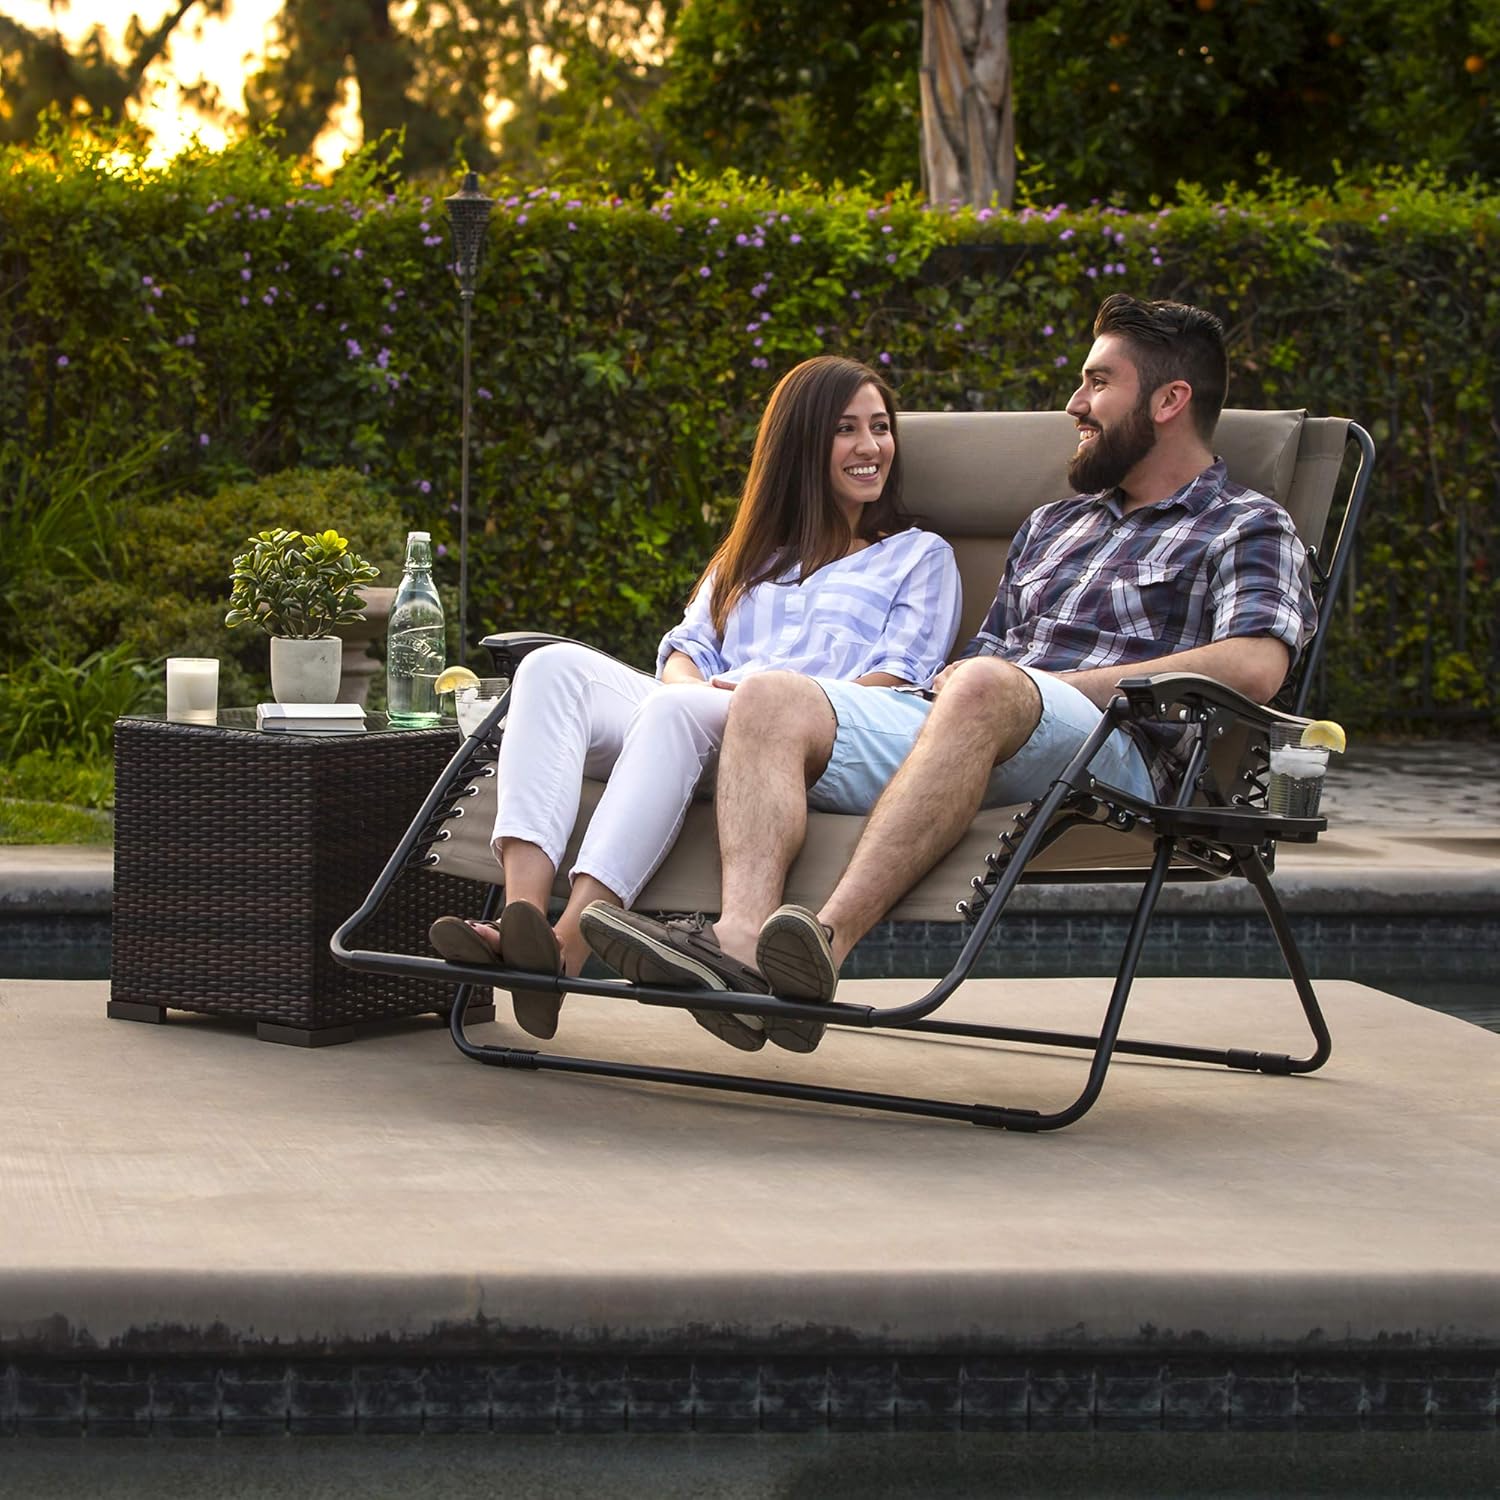
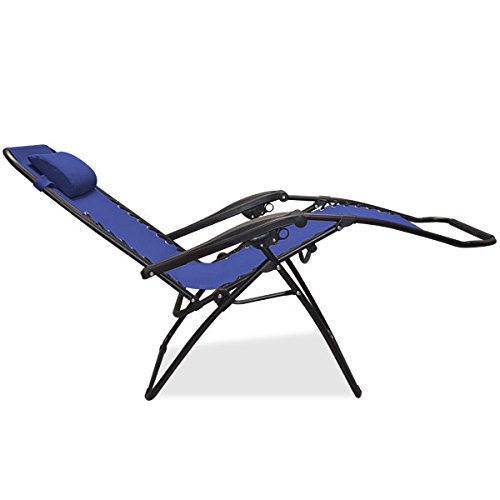 As you will have probably already noticed there is one very significant difference between zero gravity recliners and other camping chairs.


 If you are in need of a camping chair that can hold a greater amount of weight or one that features a wider seat, there are plenty of options available and many are as lightweight and compact as the chairs listed on this page.
 When I go camping I must admit I do not do too much sitting down and prefer to explore the nearby area. I also do not tend to go camping for a long duration of time and it is for these reasons that I could quite happily leave my zero gravity chair at home for a few days.
 After a couple of minutes getting used to the recline function I was convinced I had not wasted any money and started using the chair on a daily basis. I loved the recliner so much I used it more indoors than out, often taking breaks in it in the living room. I also started using it in my bedroom while watching a film or show before sleep, since I found it far more preferable to lying down on the bed.
 My first zero gravity chair was identical to many that are available currently, very similar to the highly rated

 Working with My Zero Gravity Chair I spend a lot of time looking around the internet for products that can benefit my health,
 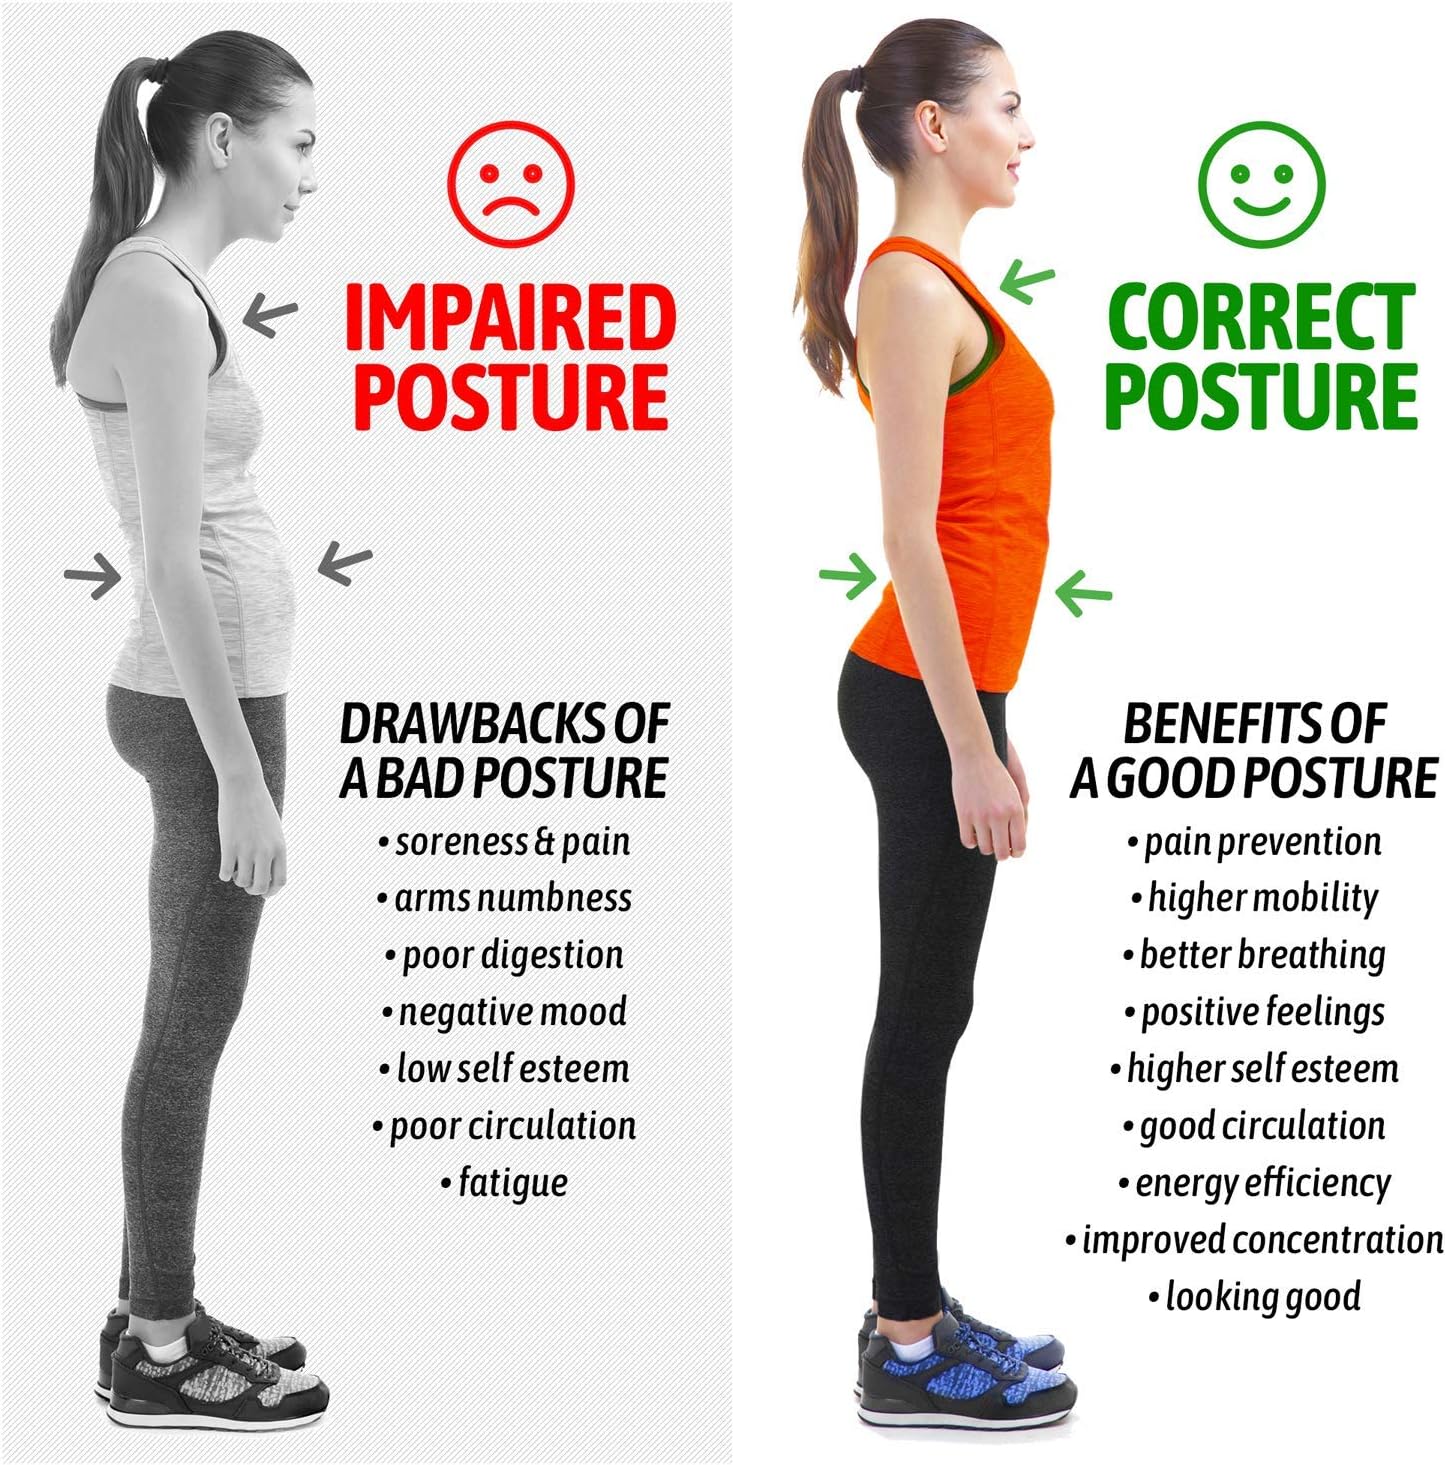 Using a posture corrector I could instantly see in the mirror what a difference it made when compared to my usual posture. The fact I could clearly see the difference in my posture was the first sign that it hadn’t been a waste of money.
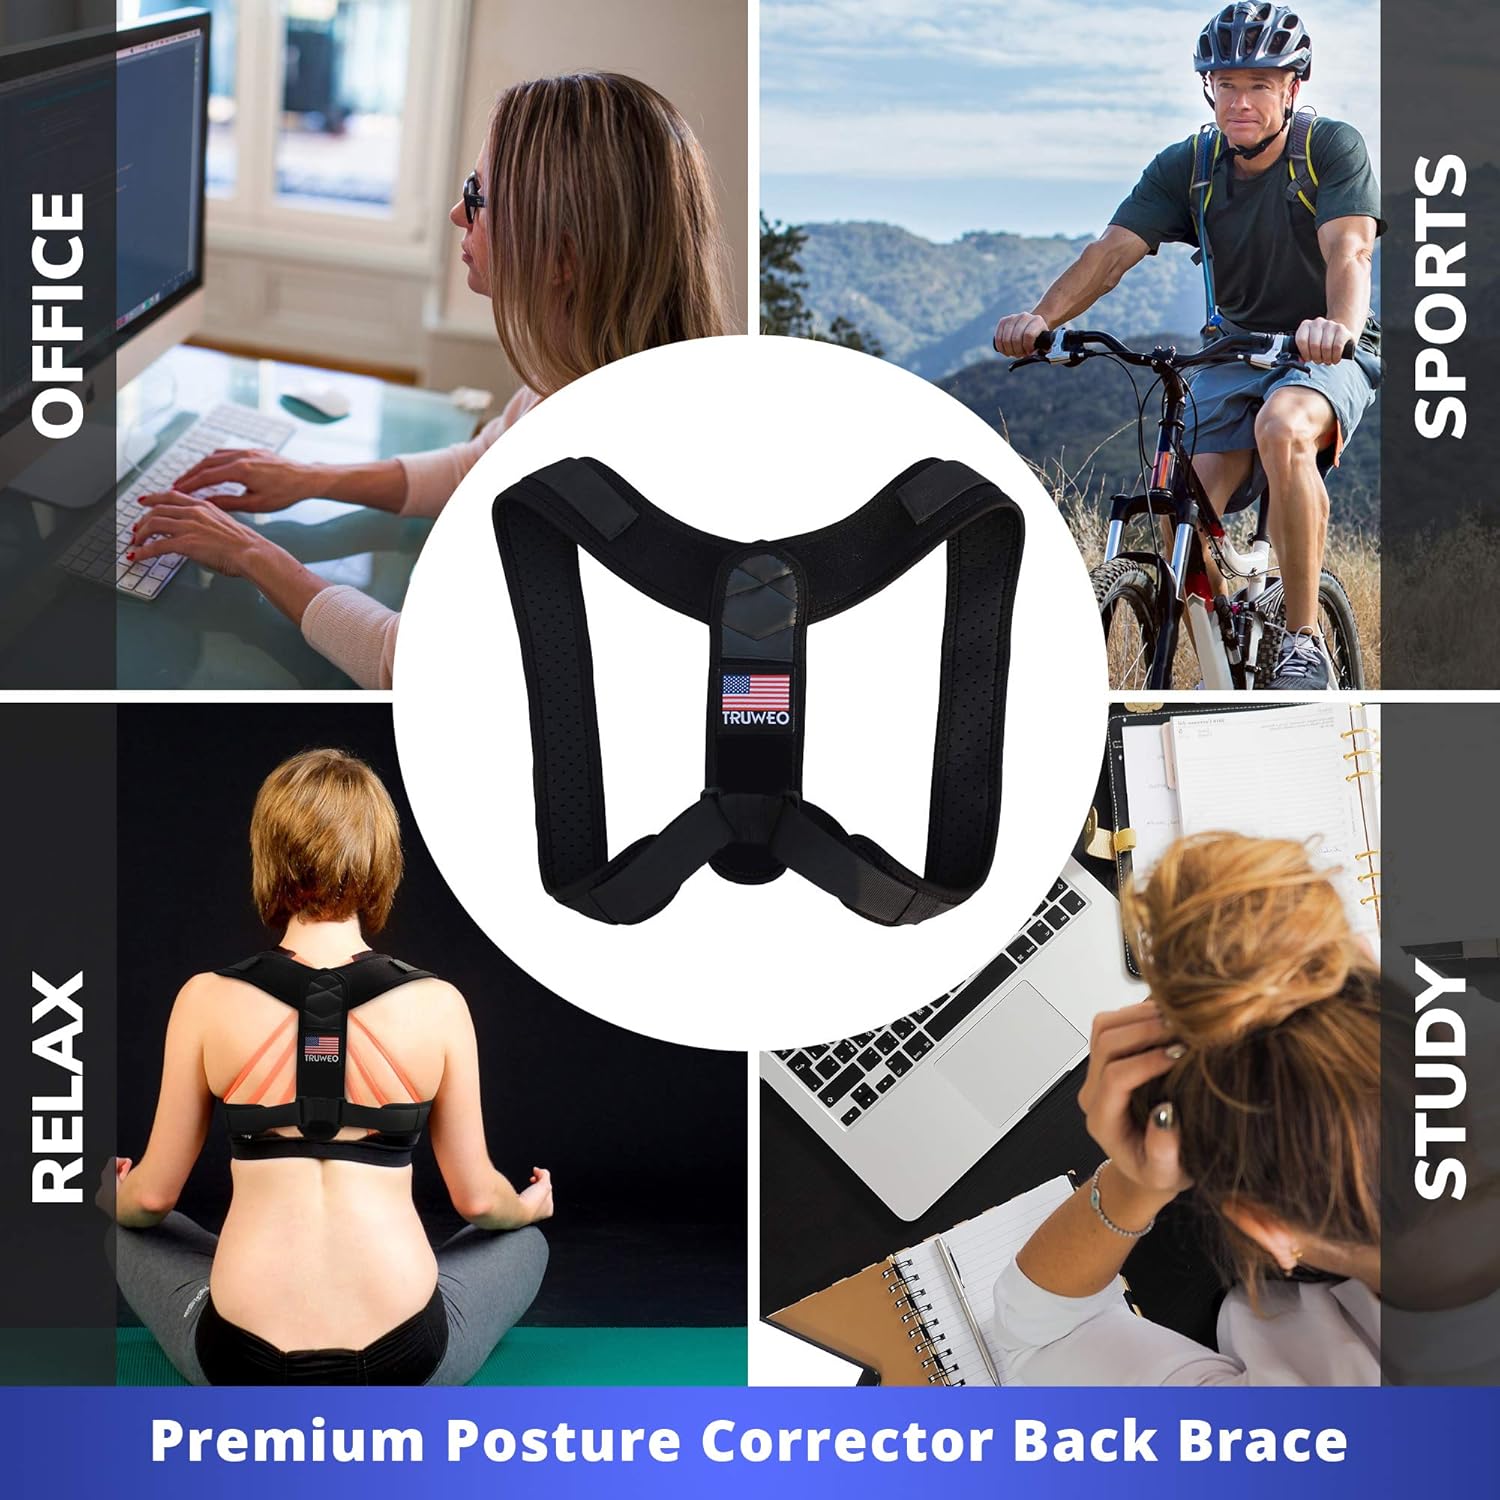 It is fairly plain to see from most buyer reviews, many find posture correctors to be highly effective. I’m also incredibly surprised how good they really are considering their low prices.


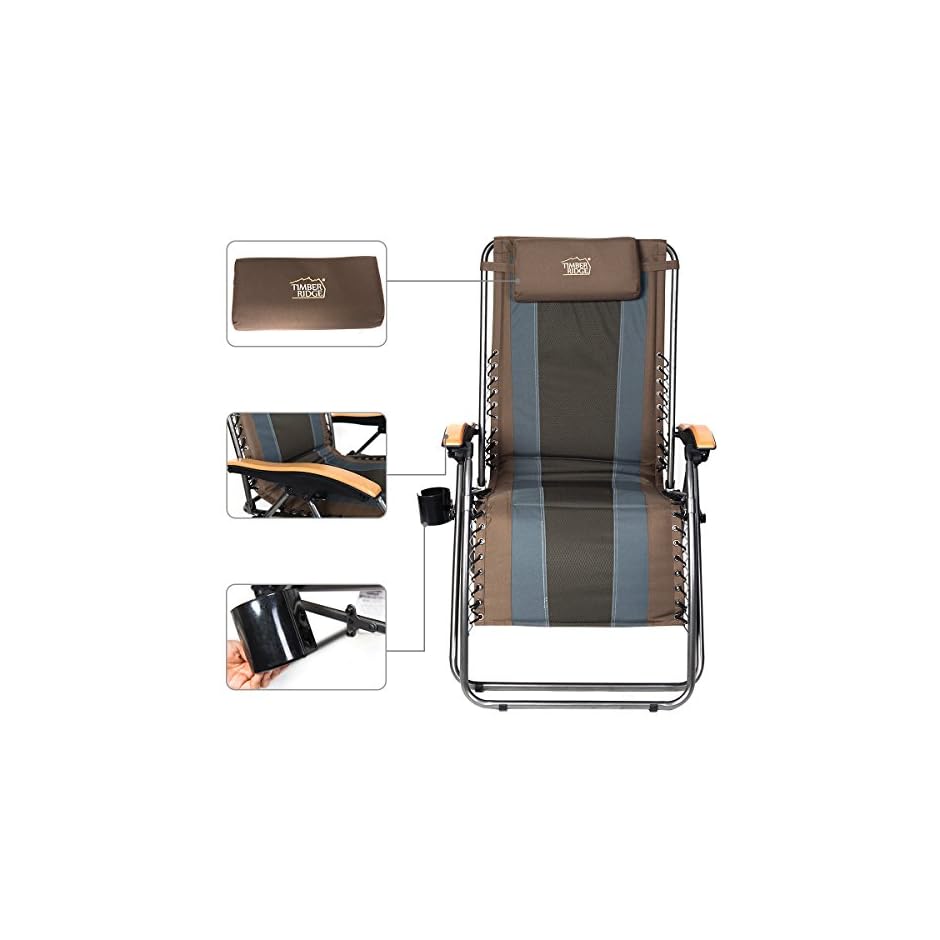
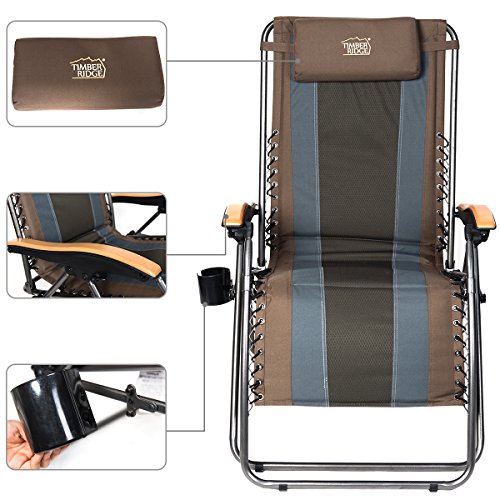
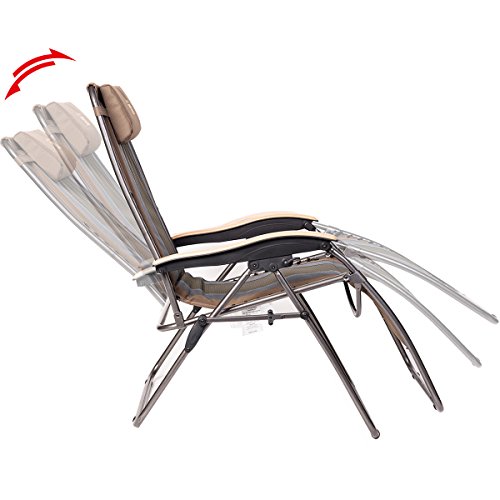 The first thing many will notice when looking for an XL and extra wide zero gravity lounger for the outdoors, is the size and capacity of the chair. While many extra large zero gravity chairs always feature a wider seating area than the standard style of chair. It is often surprising that many are not capable of holding a little extra weight.
 As touched on slightly above, the market has become fairly saturated with low budget zero gravity loungers that all look very similar. Oversized zero gravity chairs all produced in similar colors with black plastic armrests have become very common. So when a contemporary outdoor chair like this comes along, it certainly catches the eye.
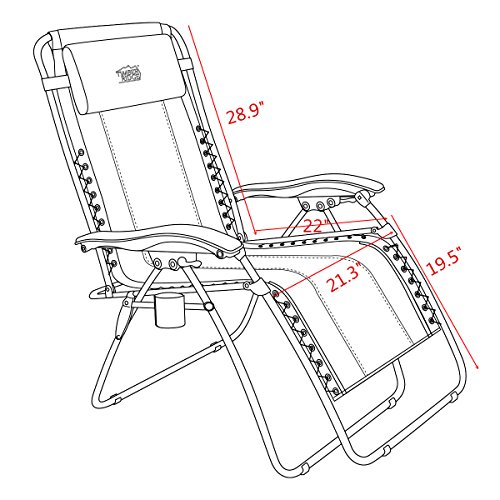 When compared to other extra large zero gravity outdoor chairs it is true that the Timber Ridge oversized zero gravity chair is a little more pricey. However taking into account the higher quality of this particular extra wide zero gravity chair and the fact it is padded, you can see why it costs a little more.
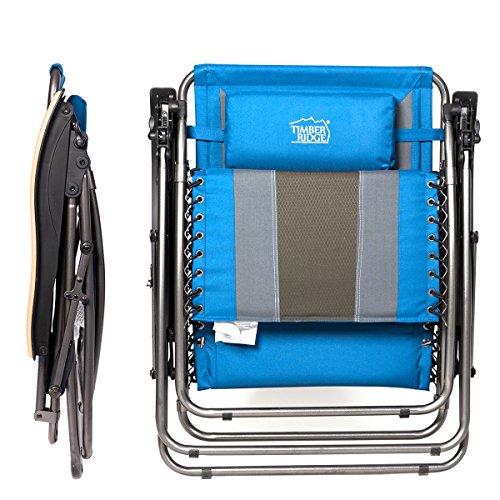 The most notable and frequent compliment about this anti gravity recliner is how comfortable it is. Many are pleasantly surprised by just how comfortable the padded seat is and most are surprised that an outdoor recliner is capable of this level of comfort.
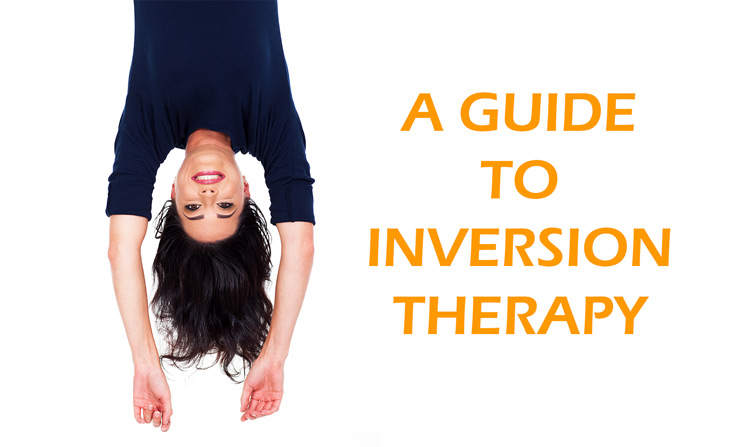
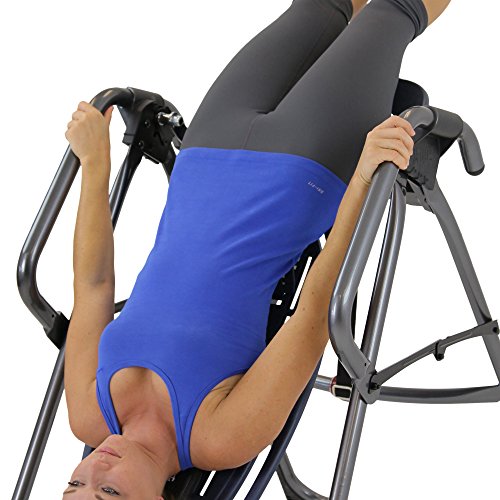
 Before we get into everything you need to know about Inversion therapy and inversion tables I need to point out that inversion therapy is not for everyone.
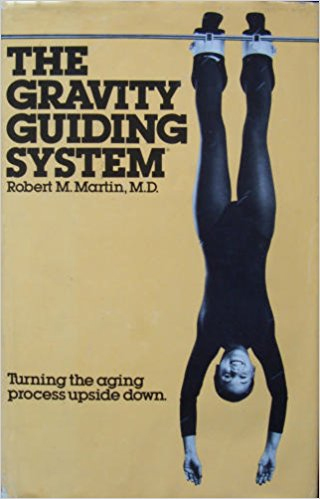


 The spine is constructed of a series of bones named vertebrae that are connected by ligaments and muscles.
 For most individuals natural growth in height stops in their teens, usually around the age of 16 for males and 15 for females, therefore if you are over 20 and hoping to add a number of inches to your stature or encourage further natural growth from inversion therapy you are likely to be disappointed.
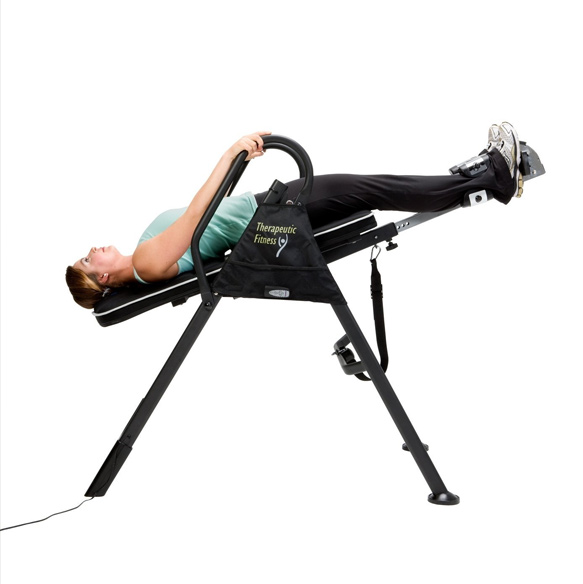 Provided it is used wisely, inversion can be a very beneficial practice to many.


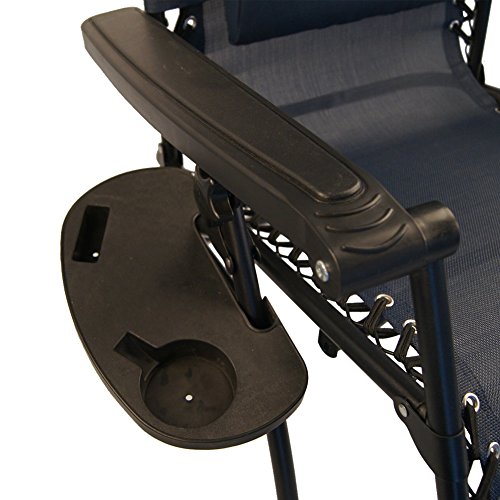
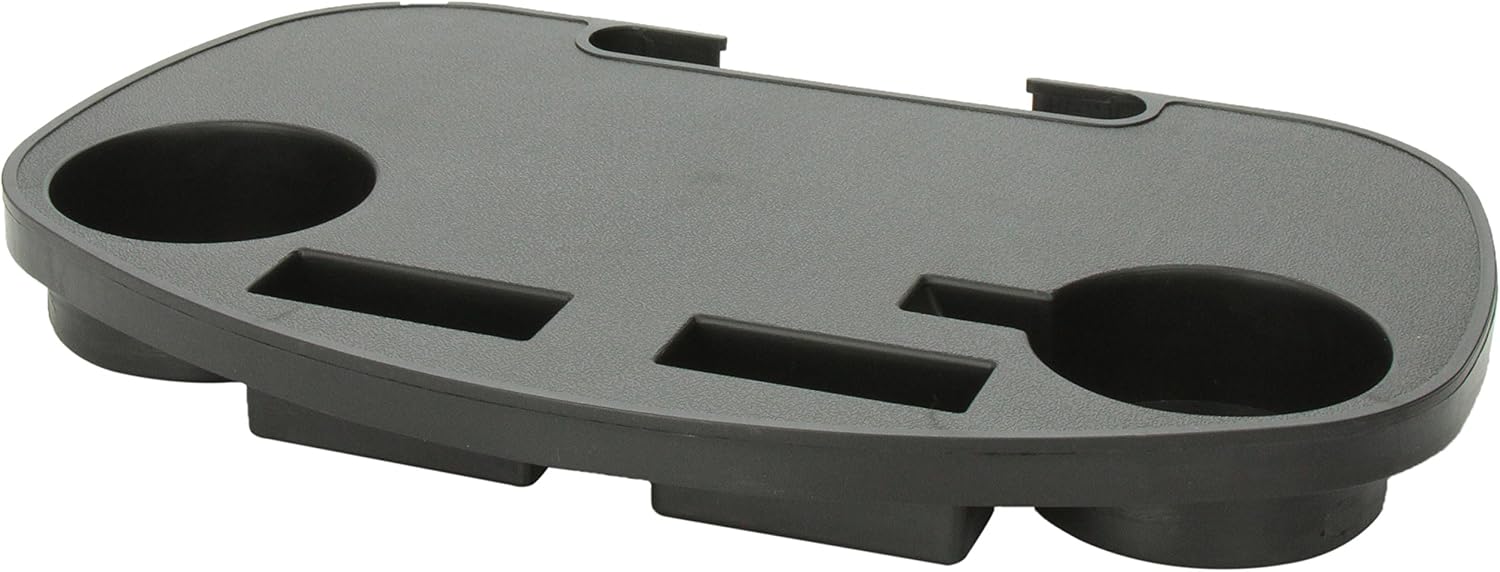 The first accessory is one that many anti gravity chairs often have included with them but for those of you that own a chair already that does not have an attachable side tray this cheap and handy accessory is a great feature especially if you are planning on relaxing for a long time. We consider the
 From Faulkner this black
 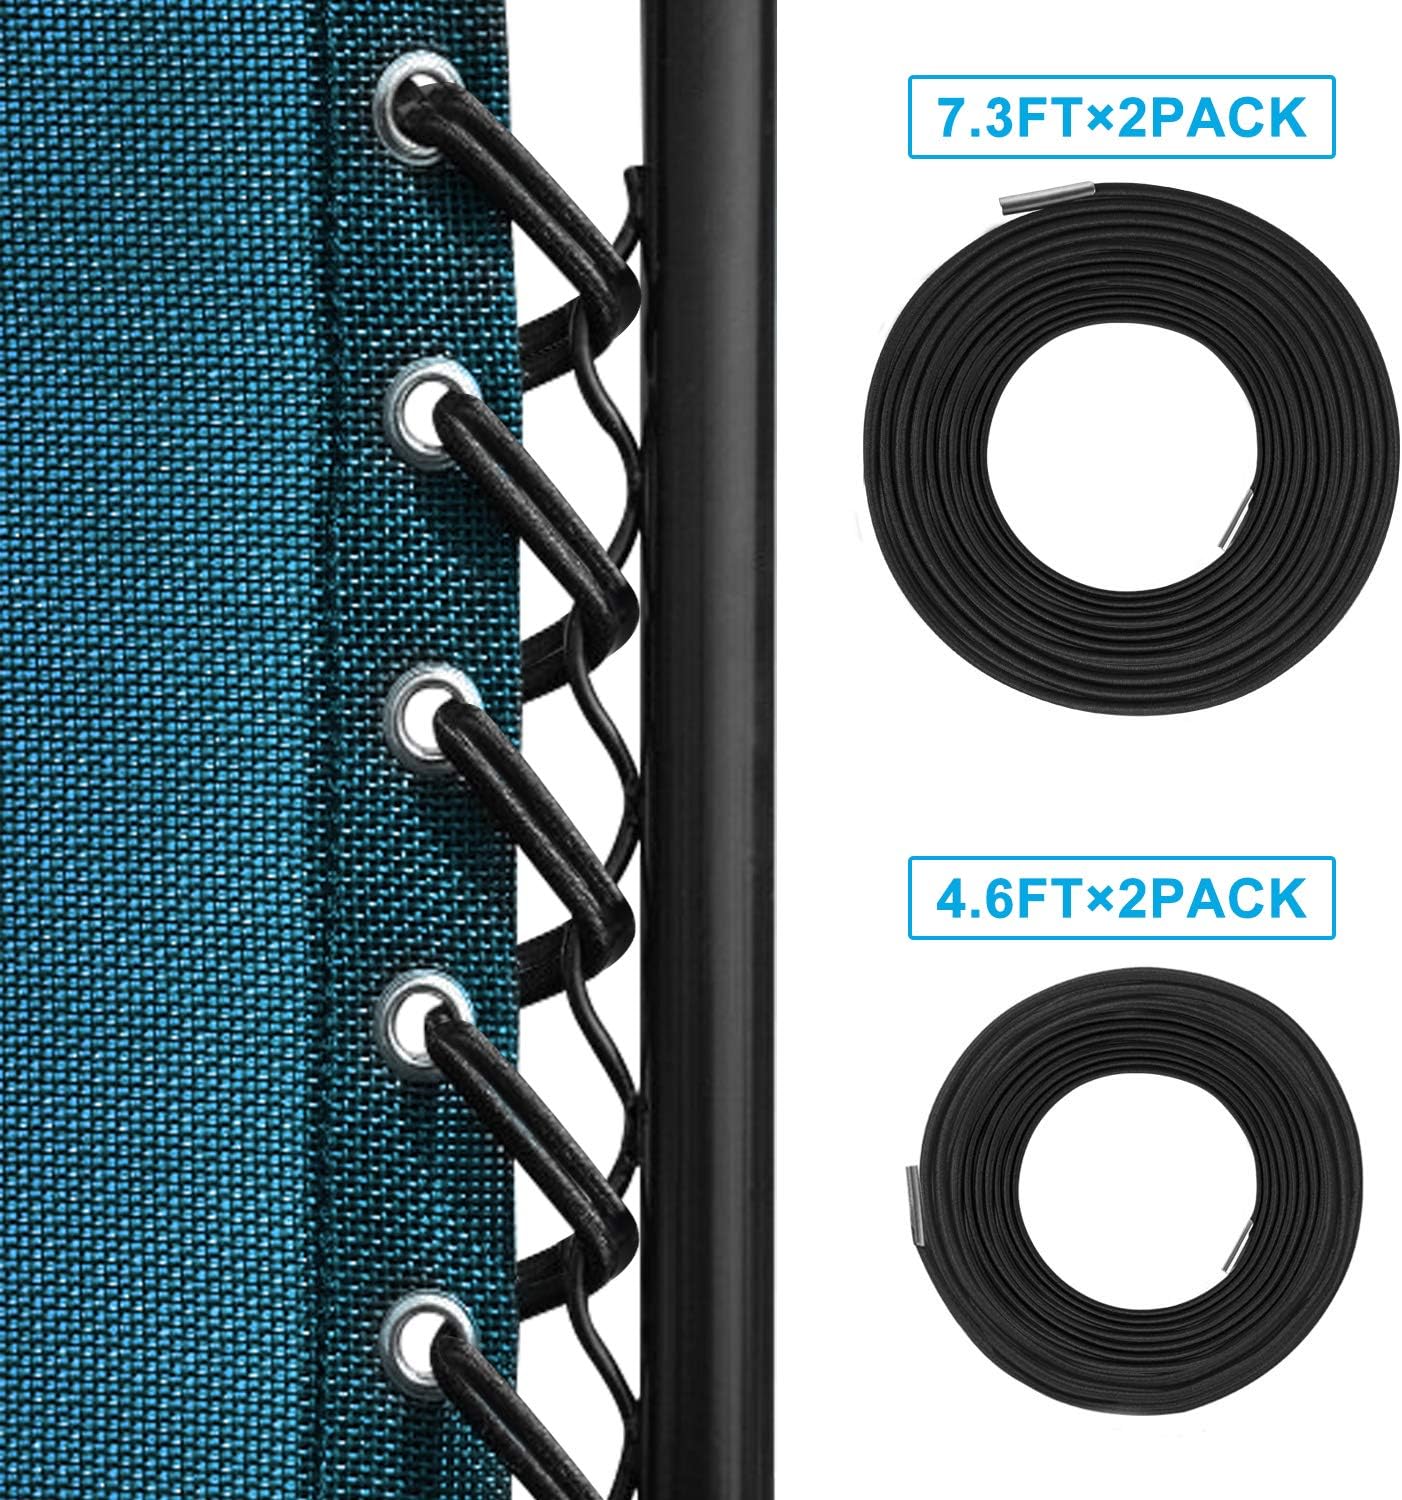 If you have owned a zero gravity chair for a number of years and are not yet ready to buy a new one, replacing the bungee laces is a great way to make the 0 gravity recliner look and feel as good as new! From Faulkner this


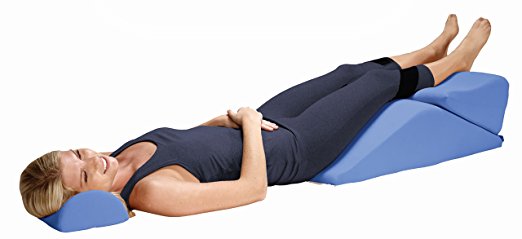
 When it comes to relaxing and healing my back pain my zero gravity chair isn’t the only weapon in my arsenal. Although a zero gravity chair is perfect to use passively when relaxing in my garden or my living room there is another object I use regularly when trying to ease the stresses of gravity on my back.
